ISP email classification tool
Please note that you no longer have to initiate this manually. We automatically classify all subscribers as soon as you upload your mailing list. This tool allows you to scan the l...
Please note that you no longer have to initiate this manually. We automatically classify all subscribers as soon as you upload your mailing list.
This tool allows you to scan the list of emails in a desired mailing list and list them as a pie graph showing you the quantity and the provider. The tool knows all major ISPs like Microsoft (Hotmail/Outlook), Yahoo, AOL, QQ, and more. It also knows email security providers like Cisco, ProofPoint, Barracuda and more. Best of all, it is FREE to use as part of our hosted platform offering.
You might think, wait a minute, we can quickly tell which ISP they belong to by the email address. You are right. If the email were @outlook.com or @hotmail.com - you would know that it is Microsoft. But what if your recipient has @janz.co or @spotzee.com? They might be using Microsoft or Google business email services, but you could never tell just by looking. This is where our tool will come in handy.
Why is this important?
It helps you achieve better email deliverability. If you know which ISP/provider you are dealing with, you can target that ISP by learning their best practices, signing up for their postmaster tools, and investigating any issues you face. It also enables you to warm up your IP addresses by creating a warm-up plan specifically targeting each ISP. It increases your chance of successfully warming up your IP addresses and, therefore, helps you achieve better delivery rates. Better delivery rates aid in better inboxing rates and, hence, a more significant return on investment (ROI) for your email campaigns.
How do I use it?
Step 1
Login to your customer account.
Step 2
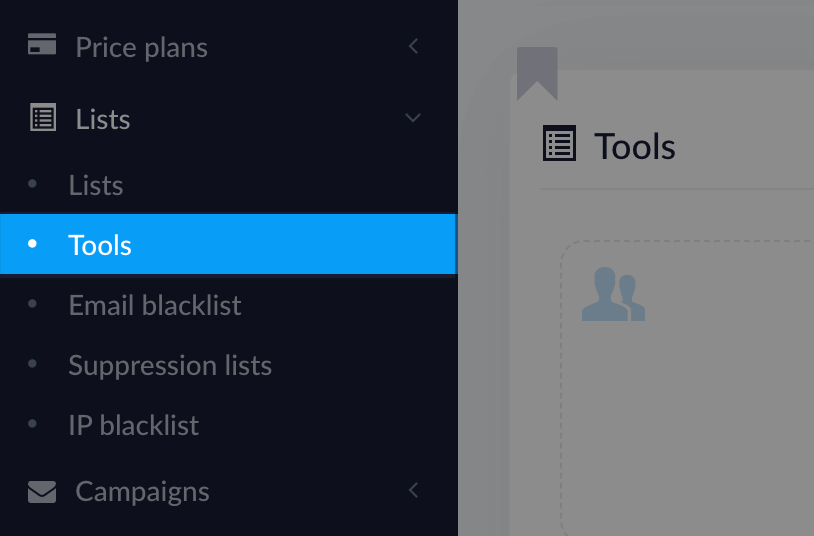
Click on 'Lists' and select 'Tools' from the sub-menu.
Step 3
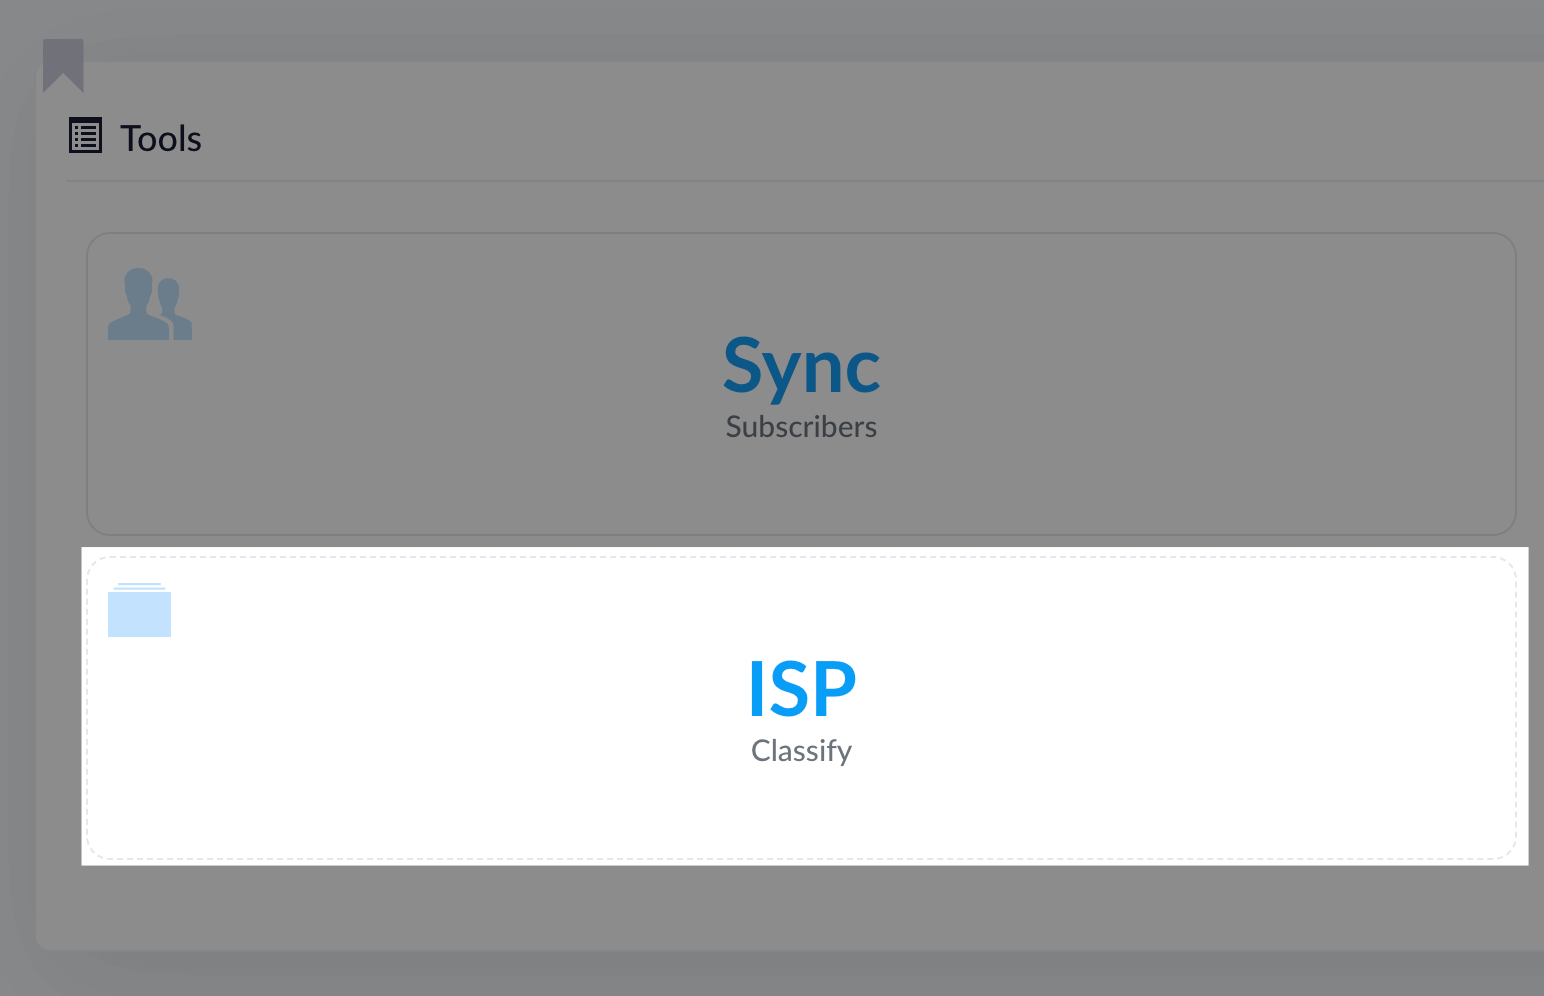
Select the 'ISP Classify' option from the group of tools.
Step 4
Select the desired mailing list for scanning and choose 'Start'.
Step 5
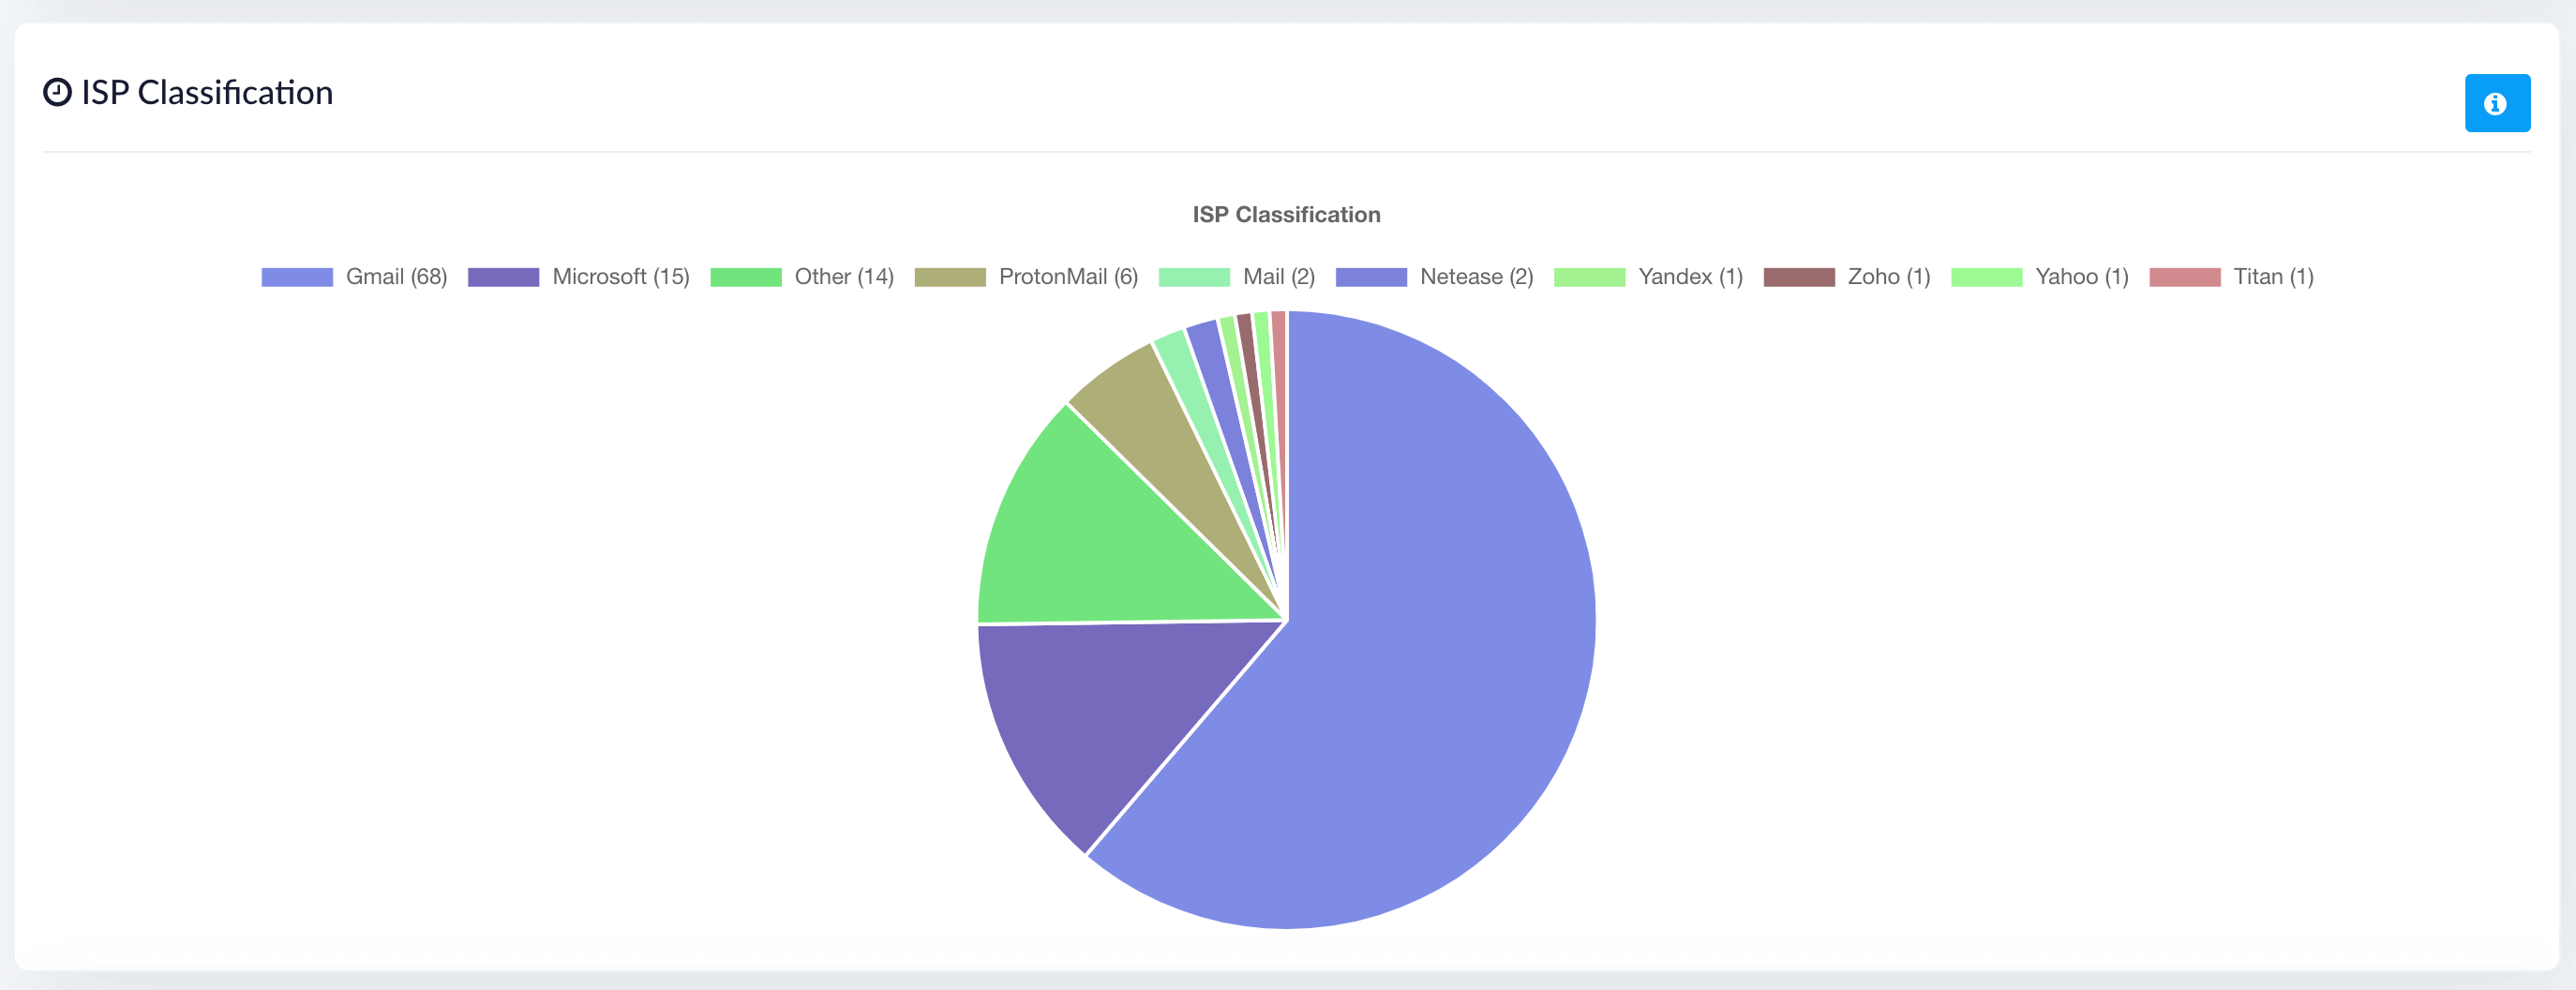
Voilá! You will receive an email once it is complete. You can see the results by going to 'Lists' and selecting the desired list. You will see the ISP classify results similar to the screenshot below.
Related articles
Domain Auth SPF, DKIM, DMARC, MX
Note: This guide only helps with email authentication for the emails (Eg. Email notifications) sent using OUR delivery server we configured for you. It DOES NOT apply if you are us...
Using Stripo email template builder
Step 1 Go to the 'Email templates' menu from the left and click on 'Create new'. Step 2 Once loaded, click on the 'Show email builder' link in the top right corner of the WYSIWYG e...
Email campaigns paused - 'pending-sending'
You ran out of your monthly allowance We enforce limits from the backend. Our system automatically disables once your customers have used up their sending allowance. The counter ca...